8.22.2015
bald head island 2015.
when i began writing this post, i wasn't sure where to start. i looked back at my first post on my blog about bald head island that i wrote back in 2011. i think it's the best way to explain my love affair for this place.
"there is a small little piece of land a few miles off the carolina coast. this island's land area is about 5 square miles and to most people it wouldn't seem like much to brag about. there are no cars allowed on this island - it is only accessible by a ferry boat and once on the island, your mode of transportation is a golf cart. there is a grocery store, two restaurants, two country clubs, a few retail stores, a church, a post office & a beautiful light house.
my family started coming to this island when i was 3 or 4. we had just moved from charleston to charlotte and somehow my parents stumbled upon this island. at the time, there wasn't much there. no grocery store, no retail stores, no post office, only one country club.
until last weekend, i hadn't been to this island in over 5 years. i could try & explain to you how great it was to be back but i'd never be able to. this island has been through so much with me & i have been through so much with it. i've watched the island change & grow over the past 20 years but i've never stopped loving it. no matter how many people now know about my little piece of heaven. no matter how many new houses there are and no matter how populated it gets. i will forever cherish this island.
i could go on for days - go on explaining the memories. there has been so much - so many families- my parents together, my parents apart, my new step dad & his family, my new step mom & her family, my best friends. my life.
this island is called bald head island. and it is forever mine."
it was so wonderful to spend a whole WEEK at bald head with my family & daniel. i loved sharing BHI with daniel for the first time. let's be honest, he didn't have any choice but to love it after the way we hyped it up :) our week consisted of a lot of time with my niece, mary emerson, puzzles, celebrating my 27th birthday, home cooking, beach days, daily rain storms, too many beers, an awesome scavenger hunt, and plenty of relaxation. join me on a picture tour of BHI and a few pictures of our week there.

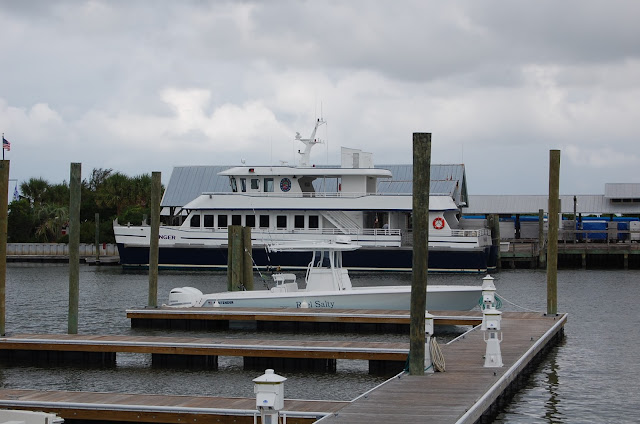
{one of the ferrys docked on the island side}
{mojo's is 1 of 2 restaurants on the island. this building has always housed a restaurant which used to be called eb & flo's}
{the post office}
{the chapel}
{daniel's first trip up old baldy!}
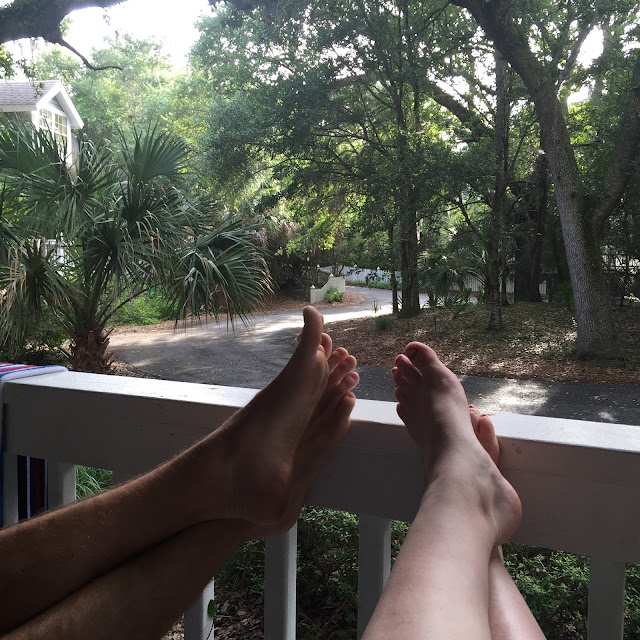
{our neighborhood for the week}
{my birthday dinner}
until next time, sweet bhi <3
7.28.2015
DIY: farm table seating.
while we were "theory-crafting" (as daniel likes to call it) about our table, we went back and forth a lot about our seating options.
we knew we wanted a bench on at least one side, and two fabric chairs for the ends of the table. i couldn't decide if i wanted to do 2 benches or have chairs on the other side. i thought 3 different seating options might be a little much, but i'm glad we decided to go with it. i think it gives the room a little more character & height.
we found these chairs at the nashville flea market for $15 a piece. we bought 4 and thankfully we only needed 3 because we had a flying chair incident on the interstate.... no worries, daniel sacrificed himself to recover the chair and now it is used around the campfire :)
i sanded the chairs & used a tact cloth to remove the residue. i spray painted them with valspar primer & then valspar gray spray paint from lowe's. i used 2 cans of primer between the 3 chairs, and 1 can of gray per chair.
{i love the detail on the back of the chairs}
{after the primer}
{finished product}
next up we purchased two dove gray tufted lydia dining chairs from world market. i had my eyes on these for awhile, and when we went to world market after the flea market, they were on sale that day for 15% off! there were also only two gray chairs left, so we took that as a sign and came home with these beauties. this was by far our biggest splurge of our table project.
and last but not least, about 2 months later, we finally built the bench. we used the same blogger's plan for the bench that we used for the table - click here. we didn't follow this exactly - just went with the same general design we used for the table. we actually measured a few things wrong and had to do a little "re-do" half way through the project. thankfully, we both just laughed.
i was really worried about getting the stain the same color, but i only did 1 coat of stain & poly and it turned out great.
last but certainly not least, we replaced the god-awful light that was in there (so bad i don't even have pictures) with this beautiful (and CHEAP!) pendant lamp from ikea. and the rug came from rugsusa.com sometime last year - it came over from my apartment when i finally moved all my stuff in.
drumroll please... our dining room/eat-in kitchen!
7.26.2015
DIY: farm table!
daniel and i both really love projects. how lucky that i found a man with a whole garage full of saws & tools? jackpot.
back in march we decided to build a farm table. we used this link from pinterest for the wood cuts: click here. we pretty much followed those directions and ended up with a beautiful table!
back in march we decided to build a farm table. we used this link from pinterest for the wood cuts: click here. we pretty much followed those directions and ended up with a beautiful table!
once we cut the boards to the correct measurements, we put them together to see which order they should go in. we were looking for them to be as flush together as possible.
then we sanded everything and put the top pieces to the side.
next came the frame. we built the top grid separate before adding the legs. once the frame was complete, we placed it upside down on top of the boards that become the table top. we then made sure it was lined up correctly on all sides, and added 3 screws per small strip of wood to attach the top pieces to the frame.
ta-da! we then filled in all the screw holes with wood filler & sanded them down after it dried.
next up was the staining - hi diesel!
we used minwax special walnut. i think we did about 2-3 coats. the wood we used for the legs was pressure treated so they soaked up the stain quicker. we did 2 coats of poly once the stain dried.
we already had the stain, poly, and wood filler, so really all we had to purchase was the lumber and screws. when all was said & done, we spent less than $80.00 on this beauty!
next up, the 3 different seating options we have at our table.


.JPG)


